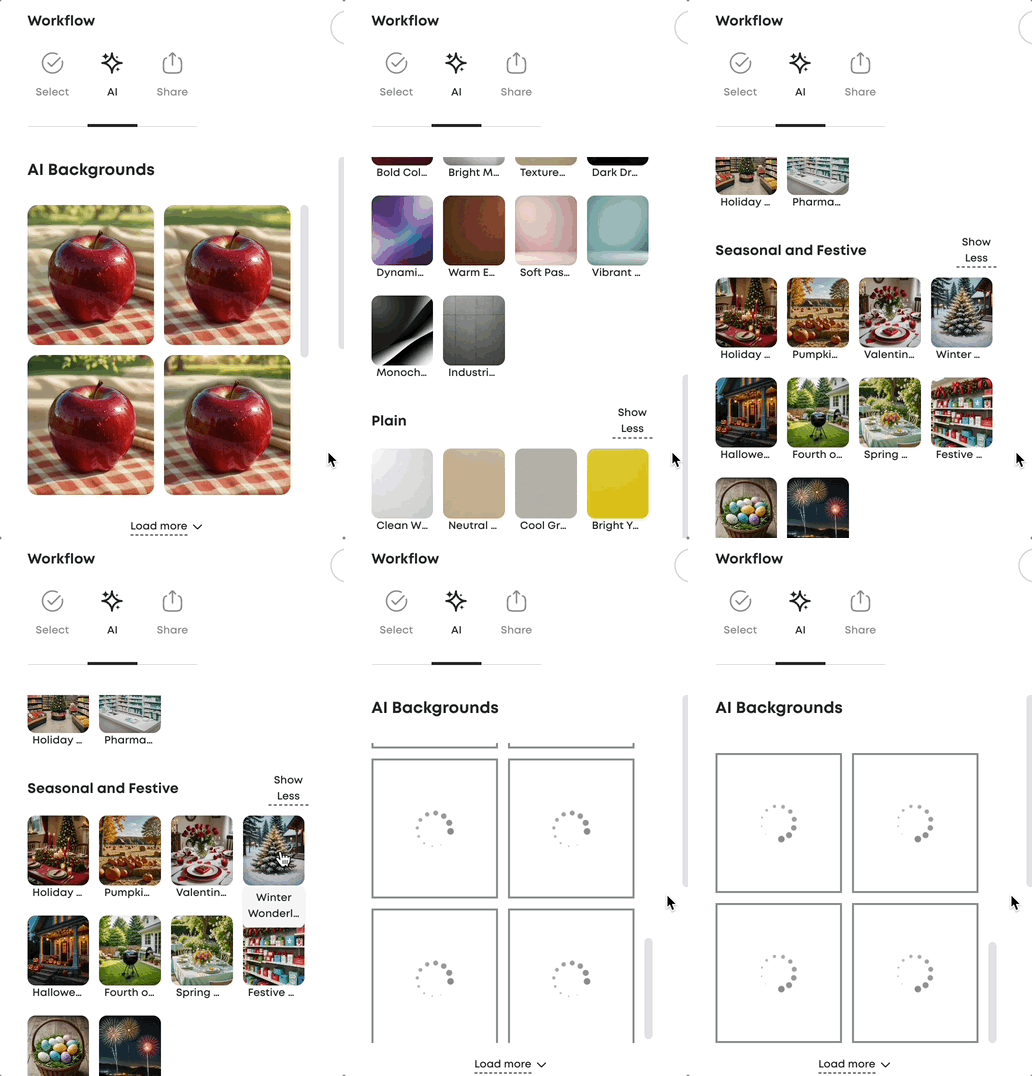
How to Use the "Remove Background" Feature in Hype Studio
Here’s a step-by-step guide for using the "Remove Background" feature in Hype Studio, along with practical marketing use cases.
The "Remove Background" feature allows you to isolate subjects by effortlessly eliminating the background from an image. Perfect for creating cleaner, more versatile visuals.
Step-by-Step Instructions
1. Select Your Image
Open your project in Hype Studio and choose the image you want to edit.
2. Access the Remove Background Tool
- Click on the magic star icon in the main menu at the top.
- In the pop-up menu, select the "Remove Background" button.

3. Apply the Tool
- The tool will automatically detect and remove the background, keeping the main subject intact.

4. Download or Add a New Background
- Save the image with a transparent background for versatile use across platforms.
- Alternatively, you can replace the background with a new image or color directly within Hype Studio by using the other image editing features.

Notes:
- Smart Detection: The tool automatically identifies the subject, so there’s no need for manual tracing.
- Professional Results: The output is optimized to look clean and professional.
- Versatility: Supports a variety of image styles, from product shots to lifestyle photography.

Use Cases
Here are some practical ways marketers can use the Remove Background feature:
1. Product Showcases
- Highlight products with a clean, distraction-free background for e-commerce listings or marketing materials.
Example: Remove the background of a coffee mug image for a polished product page.
2. Social Media Graphics
- Create on-brand social media posts by placing your subject on dynamic or themed backgrounds.
Example: Remove the background of a team photo and replace it with a branded color gradient.
3. Event Promotions
- Isolate subjects to design eye-catching banners, flyers, or invitations.
Example: Remove the background of a speaker's photo and overlay them on a custom event graphic.
4. Seasonal Campaigns
- Adapt visuals to fit seasonal themes or holiday promotions.
Example: Remove the background from a product image and add festive backdrops like snowflakes for a winter campaign.
5. Collaborative Designs
- Save images with transparent backgrounds for easy integration into designs created by external teams or agencies.
6. Quick Edits for A/B Testing
- Remove cluttered backgrounds to test if cleaner images perform better in ad campaigns.
Example: Use the tool to isolate a model wearing your product for comparison against full-environment photos.
By using the Remove Background feature, marketers can save time and create clean, professional visuals that adapt to any platform or campaign.


