How to set up Product DNA

Effortlessly manage your product information with Product DNA in Hype. This guide walks you through adding products to your catalog and using this data to streamline your content creation. Learn how to set up ProductDNA, add product details, and seamlessly integrate this information into your briefs for efficient and accurate communication.

Step 1. From the Hype home screen, navigate to the menu on the left column and hover over “DNA”, then click on "Product DNA".

Step 2 : On the top right of “Your Products” page, select “Add Product”.

Step 3: Add your product information and click “Save Product”.

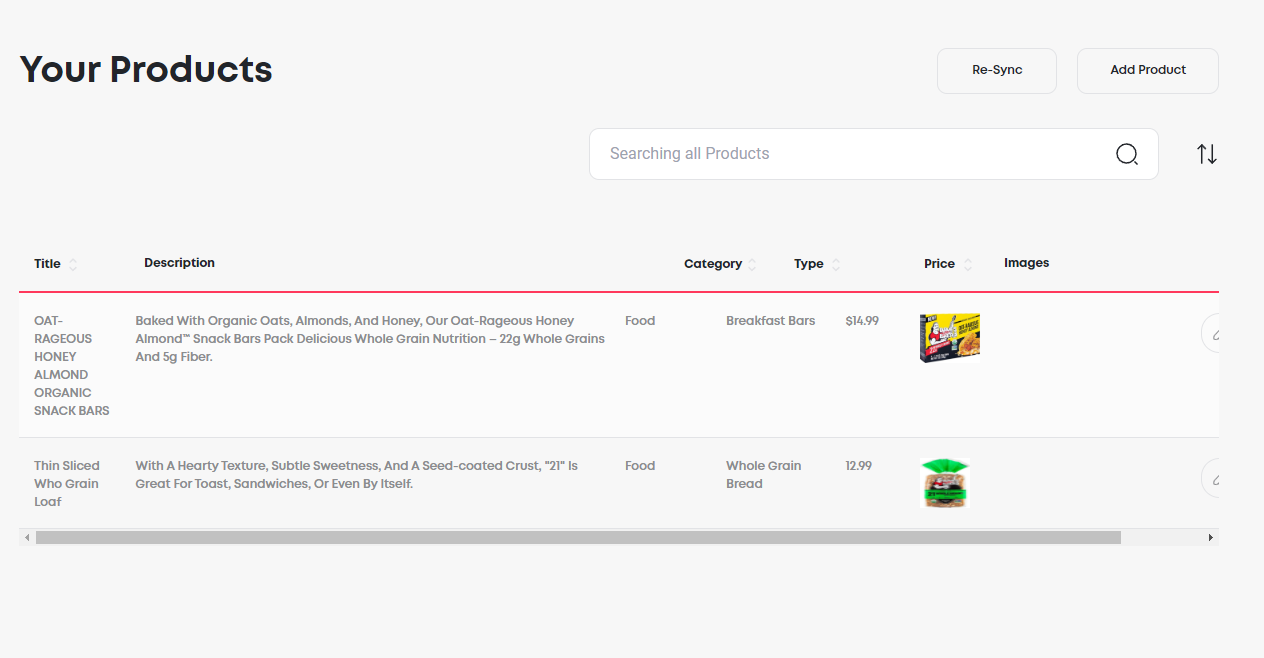
Step 4: You are all set, repeat for all your products. You will see your product catalog with the information you’ve added.
Once you’ve added a product, when entering any brief that asks for your product name, simply start typing any product from your catalog and Hype will give you the option to pre-populate that information for that brief. You are now all set to pull your product information into your content!

How to set up Product DNA

Step 1. From the Hype home screen, navigate to the menu on the left column and hover over “DNA”, then click on "Product DNA".

Step 2 : On the top right of “Your Products” page, select “Add Product”.

Step 3: Add your product information and click “Save Product”.

Step 4: You are all set, repeat for all your products. You will see your product catalog with the information you’ve added.

Once you’ve added a product, when entering any brief that asks for your product name, simply start typing any product from your catalog and Hype will give you the option to pre-populate that information for that brief. You are now all set to pull your product information into your content!